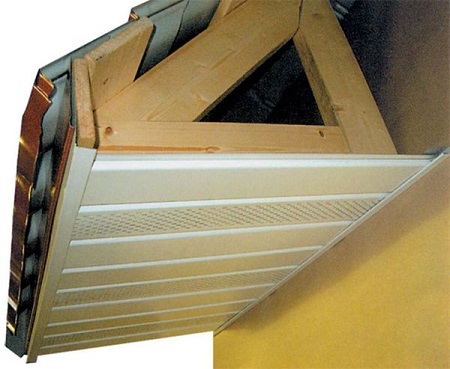
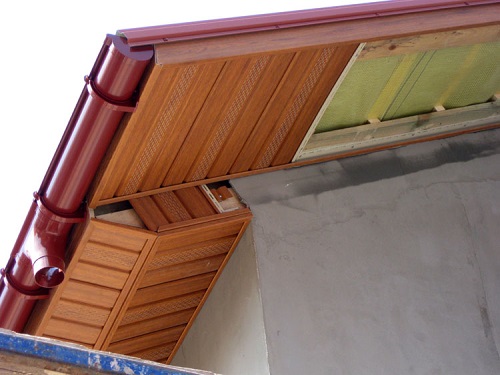
After completion of the erection of the roof structure, it's time to do the binder of its overhangs or, as they say, to do the binder. The filing of the eaves of the roof is the final touch, which gives the house a certain completeness, in particular, with regard to its appearance.
Content
What is a roof overhang

The gable of the gable roof is designed in such a way that involves the installation of ventilation elements, the space under the roof, as well as the installation of gutters on it. Roof overhangs can be hemmed with a variety of materials that can vary significantly in design, for example, overhanging roof overhangs with siding, wood paneling, a conventional trim board, and so on. Each type of material requires a special approach to installation. Pay attention to what tools you will need with a particular material for hanging overhangs.
Features of the design of the roofing hemming

The overhanging of the roof overhangs begins when the installation of the rafters is completed and it is necessary to make the flooring of the lathing along the boundary of the roof covering.
Let's look at what structural features are and how to make a roof cornice:
Before hemming the overhangs, it is necessary to saw off the ends of the rafters strictly in a straight line.
Moreover, it is necessary to observe the parallelism of this line with respect to the adjacent wall of the house.
As a rule, the filing of the eaves of the roof is carried out by boards. To achieve a beautiful appearance, it is necessary that the boards on different sections of the wall are the same width.
If the same width of the casing is not observed, the ideal appearance of the binder cannot be achieved.
The ends of the rafters need to be cut vertically, and the end part must be sewn up similarly with the entire binder.
Having finished sawing the rafters in one line, the first battens board is nailed from above. In the future, it will be a guideline when performing work in the following stages.

Warming of the external walls of the house can begin only after the completion of the sewing of roof overhangs. If the house is insulated before the roof overhangs are sheathed, it can be damaged during work with the cornice.
Various materials for overhang cladding

There are many different materials that are used in the process of hemming a roof cornice. The properties and appearance of these materials are different, but all of them must meet certain requirements, such as: reliable protection against moisture and frost of the eaves of the roof; providing insulation; weather protection; the ability to ventilate the space under the roof.
In addition, the selected material must retain all the necessary properties for a long time.
Here is a list of materials with which you can hem the roof overhang:
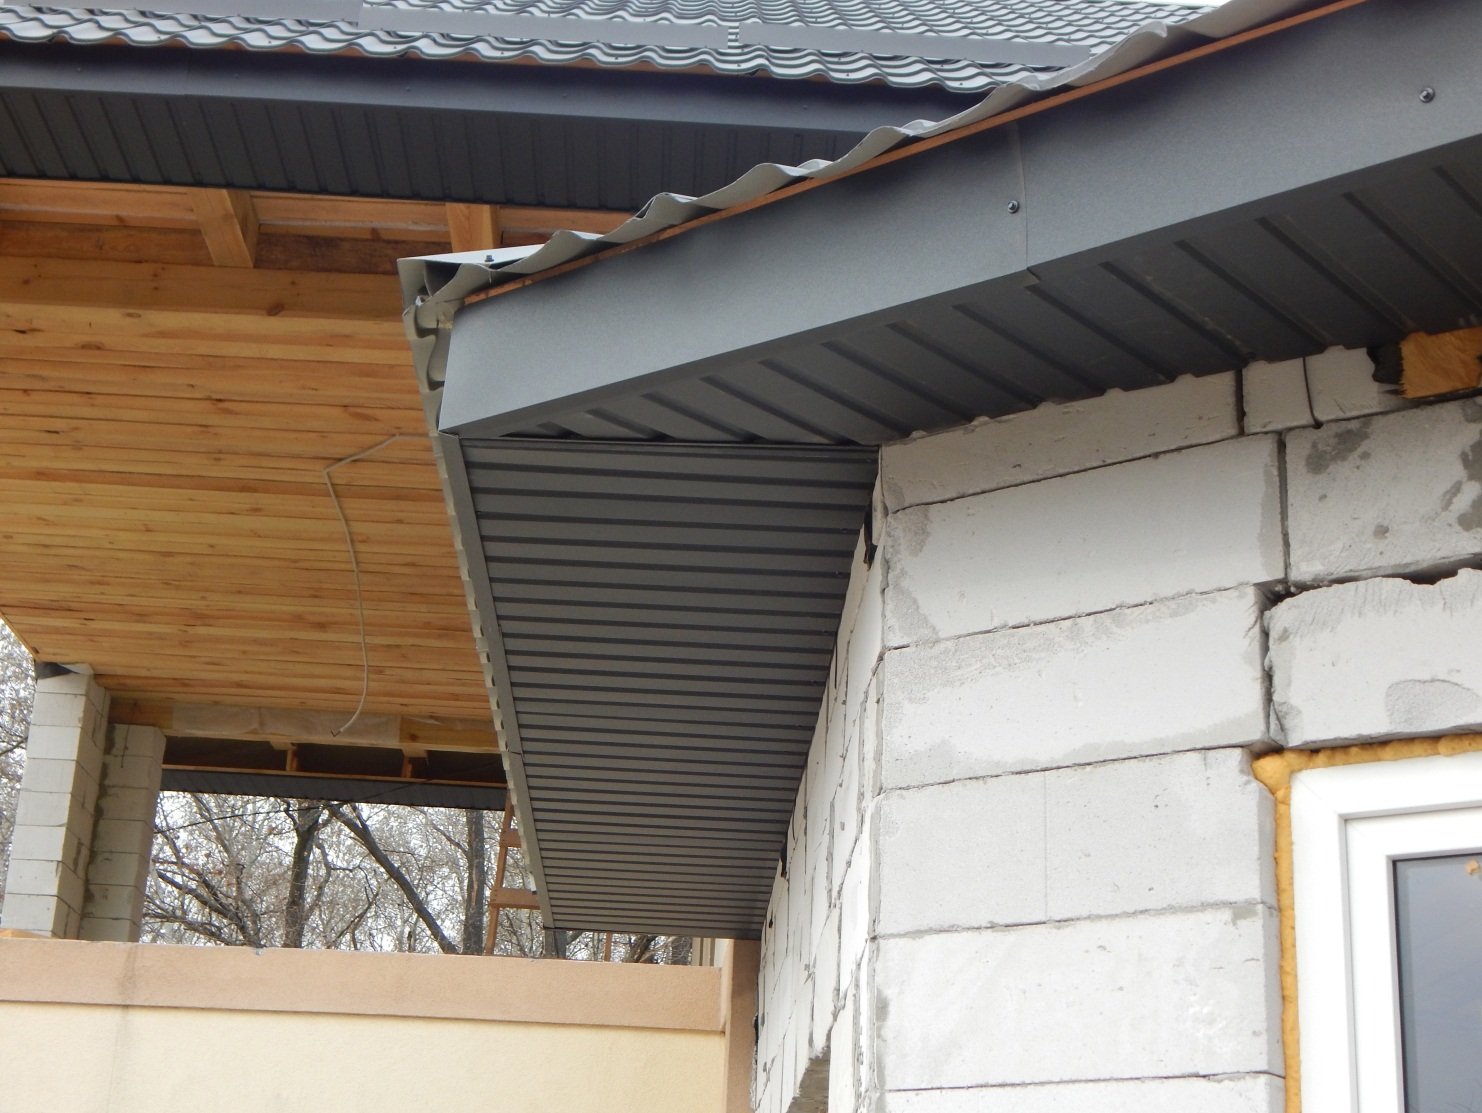
- Decking - is a galvanized steel coated with a polymeric material. Such a coating additionally protects galvanized steel. In addition, the domestic market provides a huge selection of colors of polymeric materials. Thanks to galvanized steel, corrugated board has a certain rigidity and resistance to any type of mechanical influence (including wind pressure) and to extreme temperature changes. Filing from corrugated board is ventilated through a gap whose size is equal to the height of the wave.You can make panels yourself, guided by their required width, which will significantly reduce the amount of time spent on installation, as well as the cost of the binder itself;
- Spotlights are a plastic panel with which the overhang of the roof is made. It is this material that is most used for binder, for which it is produced. Spotlights in appearance resemble siding, but differs from it with thicker plastic, as well as special perforations necessary for ventilation of air under the roof. The advantage of spotlights over other materials intended for filing a roof overhang is its resistance to the negative effects of sunlight due to the addition of UV stabilizers to this plastic.

Soffit panels are cut along the length of the roof overhang, and they are installed not along the wall, but exactly perpendicular to it
- An ordinary lining made of wood. Since the lining is used outdoors, succumbing to the influence of extreme weather conditions, it is necessary to make every effort to choose high-quality wood. So, when buying a wooden lining, pay attention to its thickness: avoid too thin products. The next important point is the humidity of the material itself: the humidity indicator should be medium: not too high (wet material), and not too low (dry material). It is best to purchase a lining that has been stored in the open air for at least a month and has a humidity identical to that of the environment;
- Edged and planed board, the thickness of which is 1.5-2 cm.

Please note that when filling this material, it is necessary to leave a gap of 1-1.5 cm.
The board is superior to other materials for filing the roof overhang due to the possibility of high-quality and uniform air ventilation throughout the space under the roof;
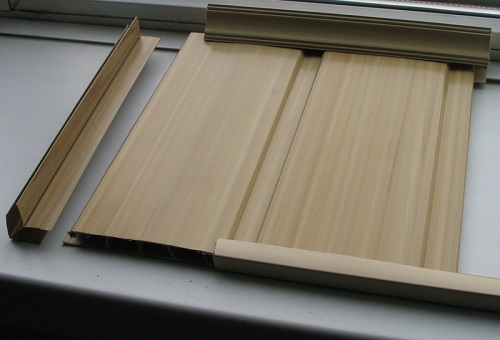
- Lining PVC is the most economical option.

Choose a moisture-proof lining: it will last longer even in rainy areas. When buying this material, do not forget to also purchase plastic corners for fastening the joints of the lining and U-shaped strips for sheathing its edges.
Binder device and its features, binder frame
Having completed the installation of the roof structure, you can begin to sheathe the overhangs of the roof.
There are two types of overhang filers:
- The firmware is performed directly on the rafters. This option is more suitable for a roof that does not have a steep slope, or when there is a need to increase the height of the building. For this method of hemming, it is necessary that the bottom of all rafters is in the same plane. If the rafters are not in the same plane, then the alignment is done using additional boards, which are stuffed on the rafters with an overlap. Then set the first and last trims. Between them pull the threads, serving in the future level. After that, install all the other bars of the desired material. In the case of convergence of the roof slopes on both sides, the rafters are installed on both sides. Attention! Overhangs of a roof, as a rule, have a length of 600 mm.
- The second option is more common - all rafters are trimmed vertically and horizontally. At the bottom of the rafters, a board is fixed, and a beam is attached to the wall, which is 1 cm above the line of the frontal board, which makes it possible for moisture to escape. If the width of the overhang exceeds 450 mm, it is necessary to install an additional board in the middle. If the slopes of the two roofs converge in one place, then the board is nailed from the corner of the roof to the corner of the house.
In both the first and second versions, the installation of the roof overhang box is carried out in the same way: a board is stuffed onto the crate along the wall on the pediment, a distance corresponding to the width of the overhang is measured from it, and then the board is beaten parallel to the pediment wall.
Installing binder from corrugated board
Roof overhangs are finished with this material as follows:
- Decking is screwed to the frame along the cornice and parallel to the wall.
- At the junction of the wall and the material, an inner corner and a frontal bar are installed. The inner corner is screwed to the corrugated board, and the frontal bar - to the frontal board.
- The outer corner is fixed at the external joints of the corrugated board.
- On the pediment, the corrugated board is installed along the outer edge of the overhang, along the wall.
- After this, the corners and the end plate are fixed. To ensure ventilation, as well as for ease of installation, the width of the corrugated sheet should be made 2 cm less than the width of the overhang.
To install the spotlights to the base, use a J-shaped bar. It is fixed along the wall and along the cornice with screws. Between the planks, sheets of soffit are installed.
The sheets of spotlights are cut along the length equal to the distance between the J-shaped strips, but do not forget to subtract 6 mm (for thermal expansion). In the event that the size of the roof overhang is more than 900 mm, it is necessary to subtract 6 mm from both sides. The windshield must be covered with the frontal bar.
If during the work you will carefully follow the instructions and our advice, with all responsibility come to the choice of material and method of installation, the roof overhangs will last a long time and will have an impressive appearance.


Alas, no comments yet. Be the first!