Ondulin is a corrugated roofing material characterized by an attractive appearance, low cost, good performance and long service life. But even the highest quality roof covering requires proper installation. A careless approach to laying a roofing can cause premature failure of the entire structure. The most important point when installing ondulin is the installation of the crate. Today we will tell you how to correctly install the crate for ondulin.
Content
Appointment

This element of the roof is a lattice wooden structure, which is used as the basis for roofing. The crate increases the rigidity of the roof, and also reduces the load on the rafters. It also provides ventilation between the flooring and the insulation, which prevents the formation of condensation in the under-roof space and, as a result, the destruction of the roof structure.
The crate must meet the following requirements:
- be as strong as possible to support the weight of the roofing;
- not contain damage and deflection;
- to respond stably to environmental influences.
Materials and Tools
Ondulin crate, as a rule, is made from lumber. Unlike metal, wood has less weight, but at the same time it has sufficient strength and effectively distributes the load. The ideal option is the use of coniferous wood. The unique structure and resin of such trees prevents the emergence of various bacteria and insects, thereby increasing the service life of the structure.
For the device of the crate for ondulin, a beam with a section of 50 × 40/50/60 mm or trim boards with a size of 25 × 150 mm is used. In this case, the latter should be all calibrated, that is, have the same thickness and width.
Useful advice: Pre-treat all lumber with antiseptic and fire fighting agents.
Minimum required
As for the tool, you will need to install the crate:
- galvanized roofing nails or long self-tapping screws;
- hammer or screwdriver;
- wood hacksaw or circular saw with the appropriate nozzle.
Photo Toolkit
Crate pitch selection
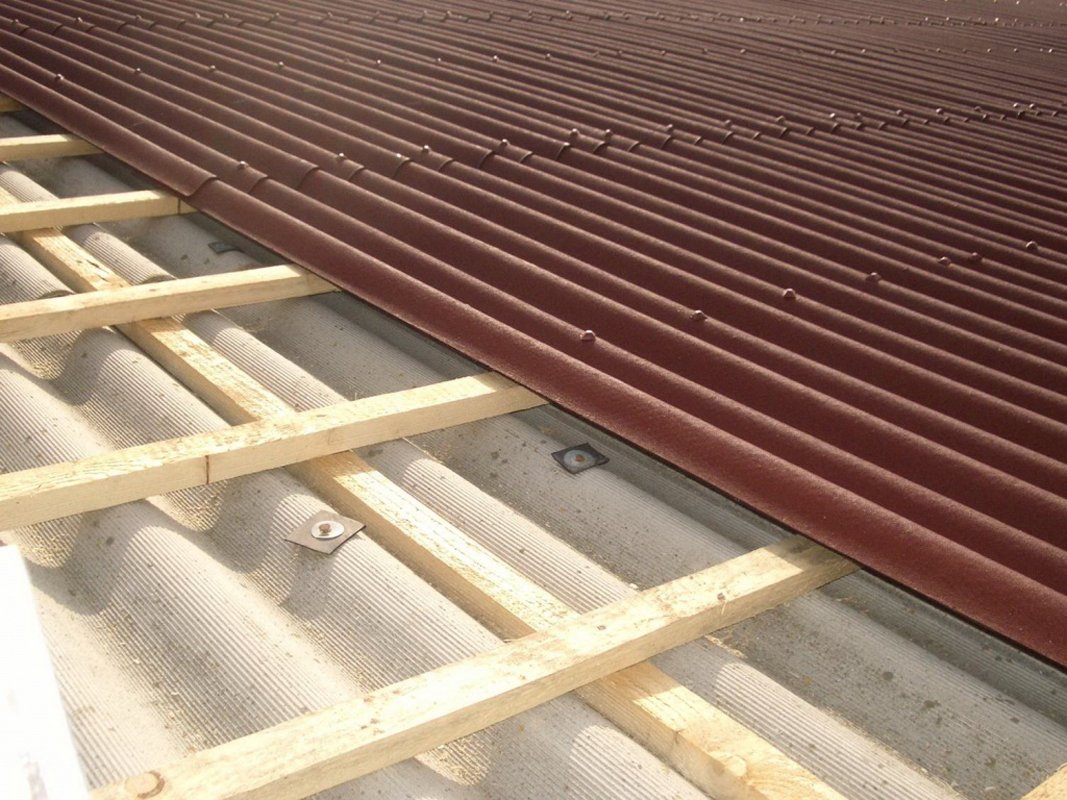
Bitumen slate is installed on pitched roofs with a minimum angle of inclination of 5 °. The step of the crate for the ondulin depends on this value. If the angle of the roof slope is in the range from 5 to 10 °, then you need to install a continuous crate. In the case of a slope of 10-15 °, it is necessary to install the lathing elements in increments of 40-50 cm. If roofing is carried out on the roof with an inclination angle of 15 ° or more, then the lathing step should be increased to 60 cm.
Important: In regions where a large amount of snow falls during the winter season, it is recommended to use a pitch of not more than 45 cm. This will reduce the roof deflection under the pressure of the snow cover.
The size of the lattice structure for the ondulin is calculated after the measurement of the roof slopes. In accordance with the data obtained, the cubic capacity of the forest is calculated, taking into account the selected distance between the elements of the crate. We proceed directly to the calculations.
Timber calculation
After measuring the slopes, you can proceed to the general calculation of the cubic capacity of timber. First, we give an example of calculating a continuous structure:
- The total roof area is 96 sq.m. (sides of one slope are 6 and 8 m).
- The area of one board is 0.15 × 6 = 0.9 sq.m .;
- The required number of boards 96 / 0.9 = 107 pcs.;
- The volume of one board is 0.15 × 0.025 × 6 = 0.0225 cubic meters .;
- The volume of all boards is 107 × 0.0225 = 2.4075 cubic meters.
Now we will calculate the roof battens of the same size, but with a step of 0.6 m:
- The number of boards on the first ramp 6 / 0.6 = 10 pcs.;
- The total length of all boards on one ramp 10 × 8 = 80 mp;
- The total length of all boards on two slopes is 80 × 2 = 160 mp;
- The required number of boards 160/6 = 27 pcs.;
- The total amount of timber 27 × 0.0225 = 0.6075 cubic meters.
Installation instructions

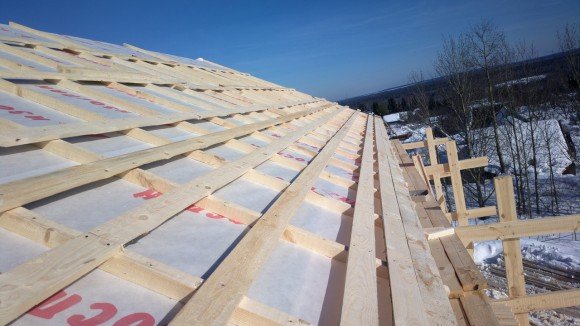
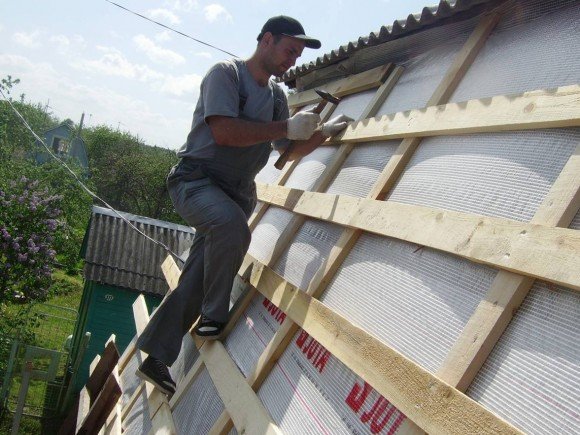
The crate for bitumen slate is installed after laying the waterproofing layer, as well as stuffing the bars of the counter-crate along the rafters. The installation procedure is as follows:
- First, make out the cornice. We fasten the first board at the overhang from any edge of the roof to the screws or nails.
- To finish the first row, we cut a board with a hacksaw or a circular saw according to the remaining length (in this case, cut 2 m, since the length of the roof is 8 m and the boards 6 m).
- We install the cut piece close to the end of the first board and fasten to the rafters. At the junction of the boards there should not be a difference in height.
- We start the second row with the installation of the remaining (in this case, four-meter) board. We install it parallel to the cornice. At the same time, it is desirable to make the distance from the first to the second row small - about 30 cm.
- Take the next board and cut it by analogy with the previous one and finish the second row.
- Next, the procedure is repeated until the very top of the roof.
To mount the ridge elements on the upper edge of the roof on both sides of the slopes and in the center, additional boards should be installed.
Important: Regarding the installation of the crate in "problem" places, such as a chimney and valleys, here it is installed in full.
Video guide on creating a wooden base for ondulin
Installing the crate under the ondulin requires special skills and knowledge. If this is your first time encountering such a job, then you need to approach it very seriously. Adhere to the above rules, and the roof will serve you for many years.


Alas, no comments yet. Be the first!