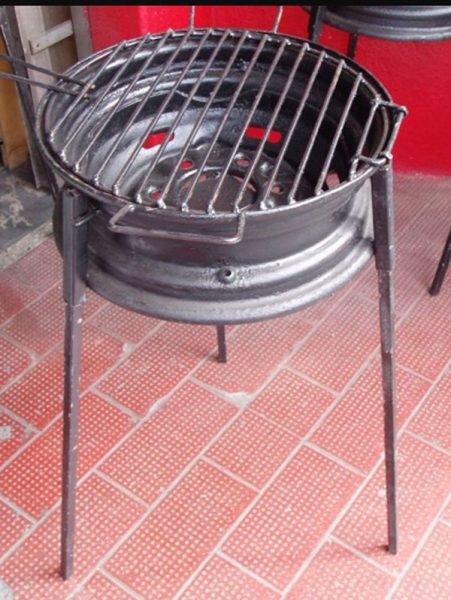
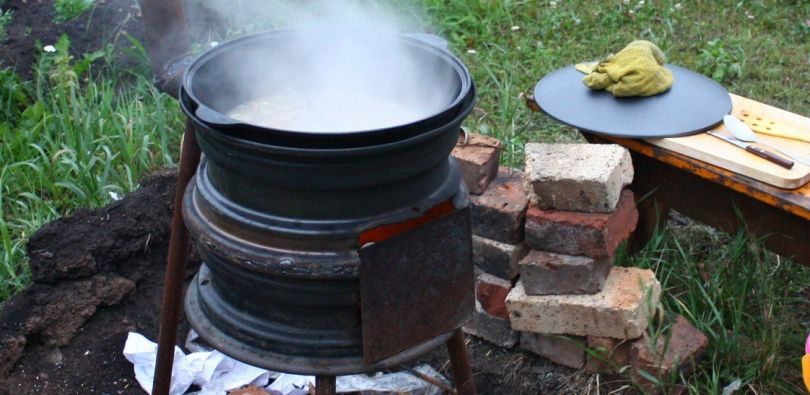
To cook food on an open fire, you need a barbecue or barbecue, but not everyone has the opportunity to buy an expensive fixture. In this case, a homemade stove for a cauldron from car disks, which will always be found by car enthusiasts, will become a successful replacement. On it you can cook food in nature or adapted for heating a small bath, a living room, a garage.
Content
Design Features
The main feature of the rim stove from wheel rims is that for its manufacture you do not need to spend money on the purchase of steel sheets and other expensive materials. No need to take measurements, cut parts and fit them together. A home-made design fulfills its task no worse than expensive fixtures for cooking on an open fire of factory manufacture.
The stove under the cauldron has a firebox that closes with a door, into which firewood is stacked. In a round recess with smooth edges, a cauldron, several skewers, a frying pan or a grill can freely fit. If necessary, this design will replace the furnace for a garage or bath.
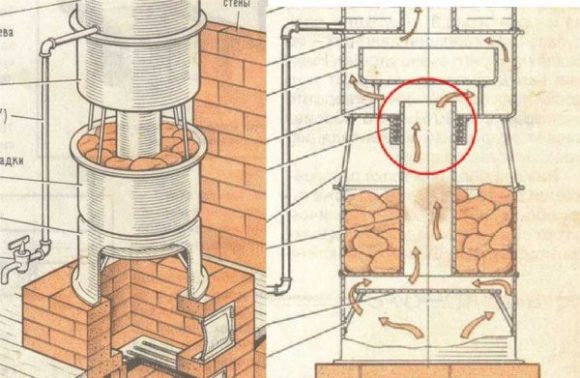
A do-it-yourself oven for a cauldron from car rims has several advantages:
- it’s not difficult to get old car rims, even if you have to buy them, it will not result in serious financial expenses;
- ease of manufacture;
- stamped metal is very durable, so the furnace will last a long time;
- in finished form, the product takes up little space and fits easily in the trunk of the car;
- the furnace withstands high loads well, does not deform from mechanical damage;
- in this stove you can lay various types of fuel;
- the diameter of the structure can be chosen independently depending on the size of the dishes.
The finished oven should be of such a size that a cauldron or other utensils are placed in it at two-thirds of the height. If the dive is less, the boiler will not completely warm up. With completely submerged walls, dishes are difficult to clean from the stove.
Homemade stove is not without flaws:
- when placed on the ground, it is difficult to maintain the burning of firewood due to low traction;
- due to the small height of the finished product, it is inconvenient to use it without an additional stand;
- there is a high risk of burns during careless handling of a red-hot stove;
- Due to the quick cooling of the steel, it is necessary to constantly add fuel to maintain the desired combustion temperature.
The disadvantages of a do-it-yourself stove made of disks do not allow using it as a full-fledged heat source for heating living space. But in order to melt a technical room, a bathhouse or cook food, such a stove is quite suitable.
Tools and materials
There are different models of such a stove, but it is more convenient to use the one that is composed of three disks. Then, large cookware is placed on the back of the disc. To remove smoke, install a pipe. This gives a small heat loss, but eliminates smoke that corrodes the eyes.
The following materials are prepared for work:
- 3 rims;
- 90 cm of a metal rod with a diameter of 10 mm;
- 20 cm of a metal profile 20 mm in size;
- 1 branch of steel with a diameter of 50 mm;
- 1.5 m pipe.
The size of the rims for the stove is determined by the size of the dishes used. A small pot will accommodate the wheels of a car. If on the brazier they will cook dishes in a volumetric cauldron for several people, it is better to take the wheels from the truck.
The necessary equipment and tools for assembling the structure:
- apparatus for welding with electrodes;
- Bulgarian;
- disks for cutting and stripping;
- small vise;
- pliers, hammer, file.
During welding, a special suit, mask and gloves must be worn for protection.
How to make a rim oven
To start, the wheels are prepared for welding. The front side is completely cut off from one of the parts to give heat access to the area where the food will be cooked and to help its uniform distribution. With the second part, they do the same. The third disk is left unchanged. In order not to get confused, it is better to mark the sequence of discs with a marker or chalk.
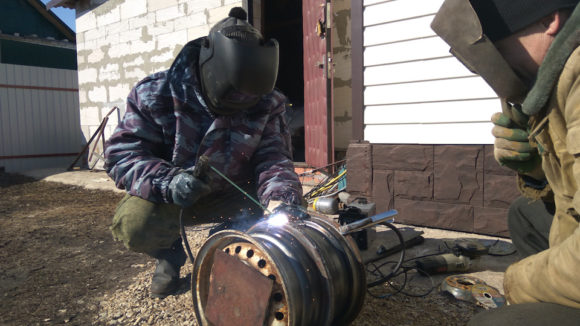
The lower disk is placed on a flat surface face down. On it set the middle part. The inside of the disc should be facing down. Welded in four places. Then install the upper part, turning it down face down. Again welded in four places. Once again check the correctness of the assembly, so that the parts are placed strictly vertically, and begin to scald the structure.
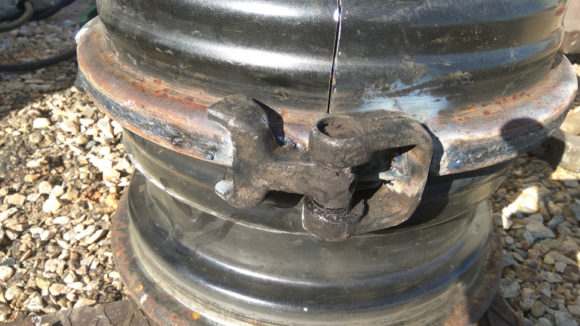
So that the parts do not deform, welding is performed step by step. After boiling a separate section, the part is turned 90 degrees and a small segment is brewed there, then it is again deployed. Gradually so weld both seams.
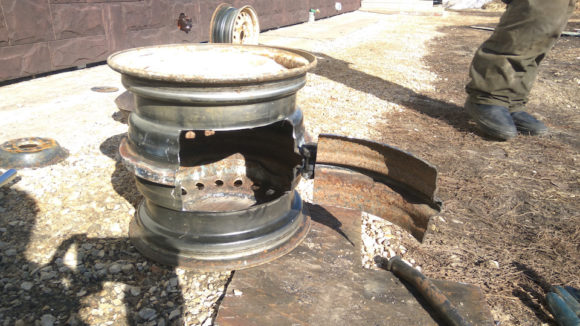
The quality of the connection is checked after slag beating. If there are any defects, correct them. Then, a grinding wheel is mounted on the grinder and the irregularities in the places of cuts and joints are eliminated.
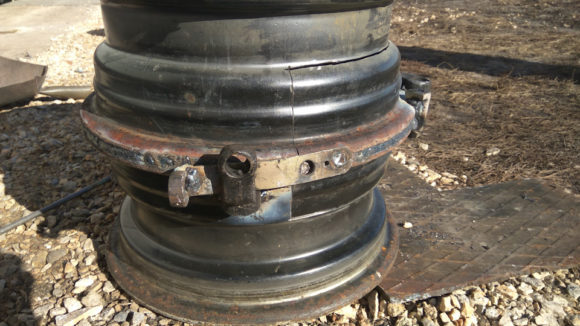
After that proceed to the implementation of the door for filling fuel. 20 cm recede from the lower edge of the future stove and mark out a rectangle 18 cm high and 20 cm long. An aperture is cut along the marking line with a grinder. The cut off part is not thrown away. They make a door out of it. On three sides of the part, a wire with a cross section of 6 mm is welded. In the middle part of the window, the part from the profile pipe is welded from the remaining side. The rod for the loop is inserted into the second part from the profile and grabbed from one edge.
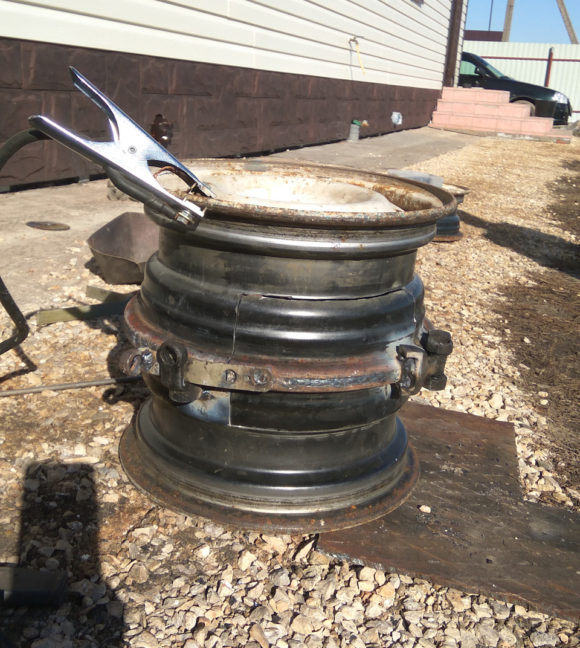
The design of the door can be very different. Possible options can be seen in the photo.
The finished door is installed in place and a second hinge is welded to the disk. On the other hand, a U-shaped handle is welded to the door. From a rod and a profile, a latch is made and welded to the door. To increase the height of the barbecue, 3 or 4 legs are welded from below at a small angle. To better fit the metal, it is cut at an angle.
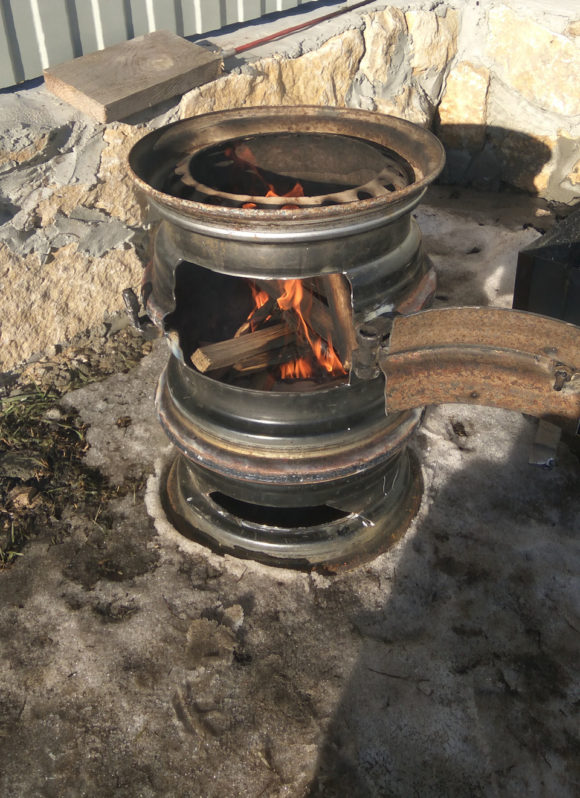
Opposite the door make a chimney. To do this, mark the hole in the upper part of the middle part according to the size of the pipe and cut it with electric welding. The finished bend is inserted into the hole, directing the pipe up. It should be inserted flush with the main part. The joint is scalded in a circle. Then all seams and sections are cleaned with a grinder.
Handles are made of a metal rod to carry the stove. To do this, it is clamped in a vice and bent to form a rectangle. Then, on the main part of the stove, markup is made and handles are welded from opposite sides.
Terms of use and maintenance
Immediately on the stove just made, you can’t cook dishes. Paint, oil or brake fluid remains on the car rims. Therefore, the stove is first calcined in order to clean the device of residues. Otherwise, during combustion, they will emit an unpleasant odor, which impregnates the food. To do this, the furnace is completely filled with firewood, laying them through the top. Using a special liquid, they kindle a fire and allow the fuel to burn to the end.
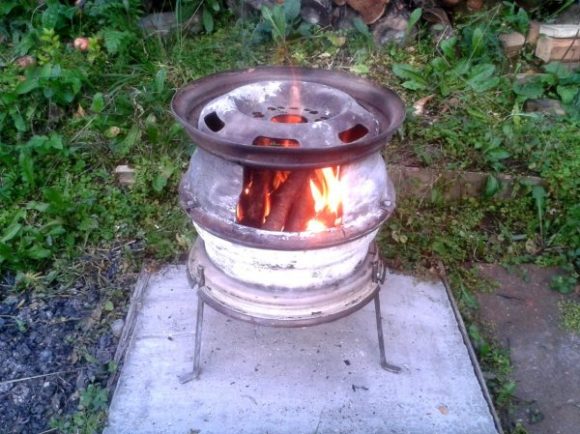
After the stove cools down completely, the ash is poured out. The walls of the structure are cleaned with a brush for metal and sandpaper from paint residues. After such cleaning on the stove, you can cook pilaf, barbecue or other delicious dishes.
For cooking, fuel is laid through the door. By adding a few slivers and tree bark, they kindle matches with flame. Oxygen coming from the lower holes feeds the flame, and the smoke goes into the chimney.Thanks to the successful design, there will be good traction and suitable conditions for cooking.
During cooking, do not add large portions of firewood. It is important to maintain heat evenly. A strong flame will only ruin the dish and the food will burn.
After completion of the process, wait for the stove to cool and begin to clean it. Fine ash and residual fuel will fall out independently through the holes in the lower disk. To free the device from large residual fuel, it is turned over and shaken out through the door.
Conclusion
Making a homemade stove from car wheels is quite simple. It does not require large expenditures. All work can be easily done during the day. As a result, using a simple and convenient design, you can cook pilaf in nature in a cauldron or grill skewers on small skewers.



Alas, no comments yet. Be the first!